Compared to other platforms, Shopify stands out as one of the most beginner-friendly and fastest-growing solutions. Shopify dominates the hosted e-commerce platform segment thanks to its all-in-one setup and ease of use.
Shopify currently holds roughly 10–11% of the global ecommerce platform market and powers millions of active online stores worldwide.
This Shopify print-on-demand setup guide is designed specifically for new sellers launching their first store. You will know how to start selling quickly and scale at your own pace.
Why Choose Shopify for Print on Demand?
Many reports also show Shopify leading the U.S. e-commerce platform market (with 30% share). This makes Shopify the preferred choice for businesses that want to launch and scale quickly without technical complexity.
Here are the reasons:
✅ Create Your Own Shopify Store
Shopify lets you fully design and customize your store with hundreds of feature-packed themes and built-in, AI-powered functionality.
✅ Connect with Top Marketplaces
Shopify connects directly with leading major marketplaces, including Amazon, Walmart, eBay, and Target. You can fulfil all orders in one central place.
✅ Beginner-Friendly Setup
You don’t need coding skills. Shopify provides ready-made themes, simple settings, and guided setup steps that help new sellers launch fast.
✅ Shopify App Store (with 13,000+ Commerce Apps)
If you want something extra, Shopify has all you need out of the box. You can add apps, automation tools, email marketing, and analytics without changing platforms.
✅ Free Business Tools
Shopify provides many free tools that can help you sell and grow more easily, such as:
-
Business name generator
-
Logo maker
-
Shipping label template
-
Profit margin calculator
✅ Strong Marketing & Sales Tools
Shopify supports SEO, email marketing, social media selling, and paid ads integrations — everything you need to attract customers and increase sales.
Valuable Read: 7 Pro Tips on Reducing Costs While Scaling POD Print on Demand 🚩
Shopify Print on Demand Setup Guide: 8 Easy Steps
If you follow the right steps, you can launch your store faster and avoid common mistakes new sellers make. Below is a simple step-by-step Shopify print on demand setup guide to help you go from idea to live store.
Step 1 – Create Your Shopify Account
The first step is creating your Shopify account. Shopify offers a 3-day free trial. You can explore the platform and start building your store before choosing a paid plan. Below is what Shopify offers:
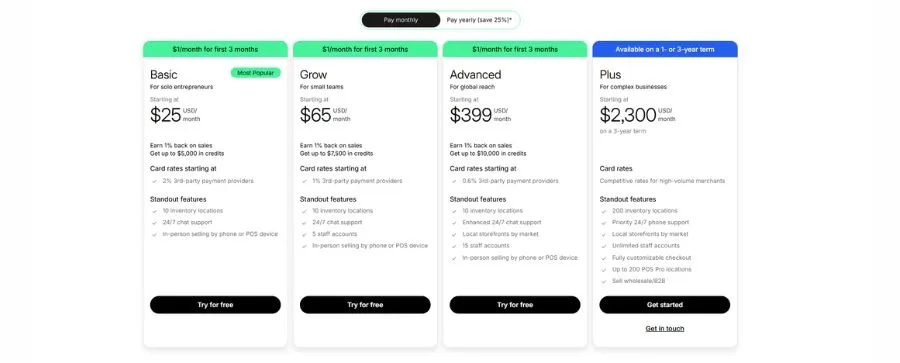
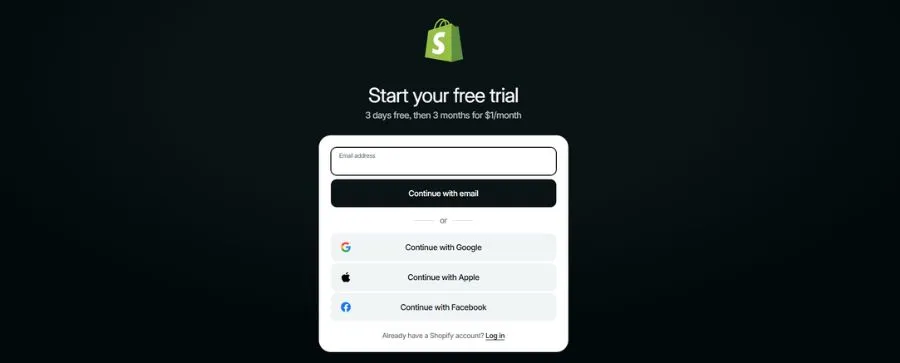
Here’s how to get started:
-
Go to Shopify and sign up using your email, Google account, Apple, or Facebook account.
-
Shopify will ask a few questions about your business goals and experience level. These questions help personalize your setup, but you can change everything later.
-
After signing up, you’ll enter the Shopify dashboard. This is your main control center for managing products, orders, and settings.
-
Next, choose your store name. This name becomes part of your temporary Shopify domain (for example: yourstorename.myshopify.com). Don’t worry — you can always change it later.
For a more professional look, consider buying a custom domain like www.yourstorename.com
A custom domain improves credibility and makes your brand easier for customers to remember. You can purchase a domain directly through Shopify or connect one from a third-party provider.
Step 2 – Select Print on Demand Suppliers
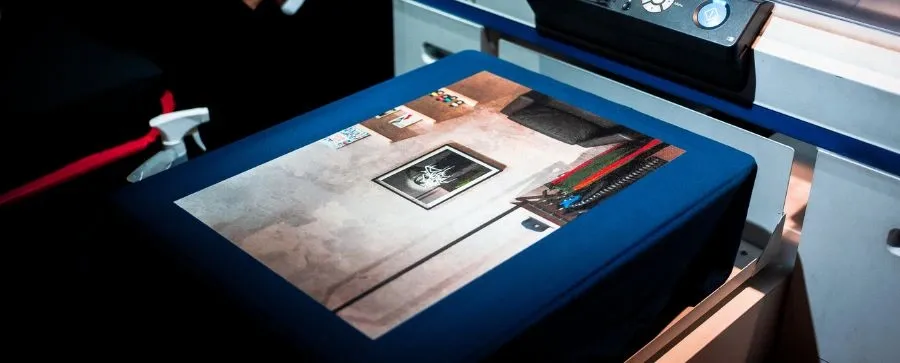
This is one of the most important steps in this Shopify print on demand setup guide. A reliable provider ensures good product quality, fast delivery, and happy repeat customers.
Here are a few quick tips:
🔶Order samples first - test print quality, packaging, and shipping experience yourself.
🔶Compare shipping speed - fast delivery strongly affects customer satisfaction. You can check our guide on 👉 6 Fastest Shipping Print on Demand Suppliers For Selling Online (2026) to find reliable options.
🔶Make sure it integrates with Shopify - automatic order syncing will save you a lot of time.
🔶Read seller reviews - learn from other Shopify store owners before committing.
🔶Check product variety - a diverse catalog helps you expand your store later.
Once you choose your supplier, you’re ready to move on to building your Shopify store.
💡 Pro tip: As your store grows, you will work with multiple POD suppliers. DodgePrint will help you integrate and manage multiple suppliers and sales channels from one dashboard. You don’t need to switch between platforms manually.
Step 3 – Set Up Your Shopify Store
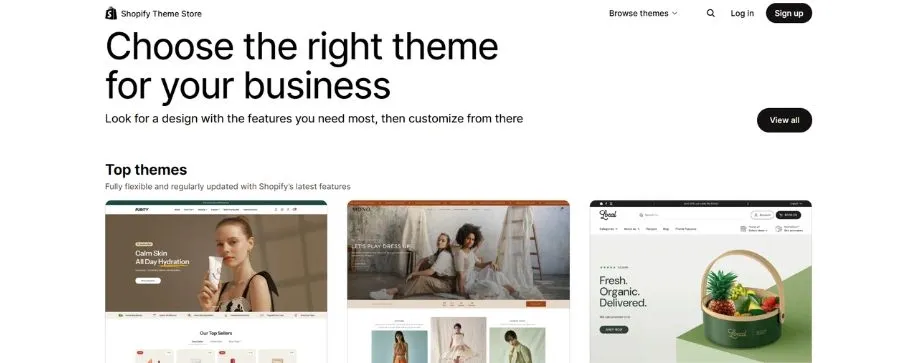
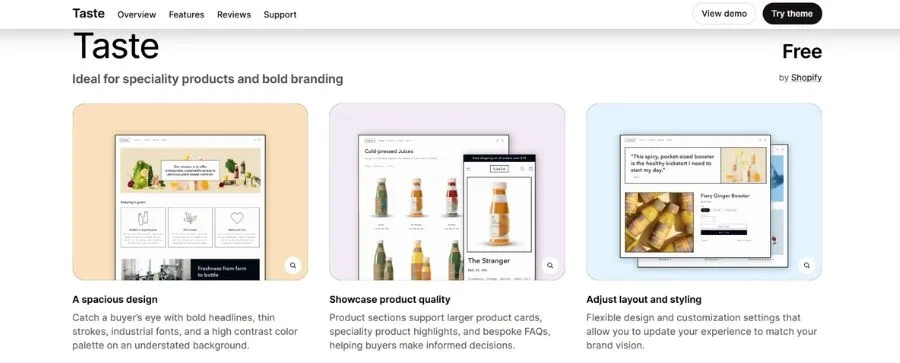
Now it’s time to build your online store. Start by choosing a theme in the Shopify Theme Store that matches your brand.
Shopify offers both free and paid themes, and all of them are mobile-friendly and easy to customize. If you’re just starting, one of Shopify’s free themes is more than enough.
After selecting a theme:
- Customize colors, fonts, and layout using the Theme Editor
- Create a clean homepage that highlights your main products
- Add clear Call-to-Action buttons like Shop Now or Browse Collection
- Keep navigation simple so customers can find products easily
Next, install essential apps to help your POD store run smoothly, such as:
- SEO apps to improve search visibility
- Email marketing tools to grow your audience
- Review apps to build customer trust
A simple, clean store design often converts better than a complicated one — especially for new sellers.
Step 4 – Choose Products & Create Designs

You don’t need professional design skills to start selling print-on-demand products. The most important thing is understanding who you are designing for.
Before creating products, make sure your idea checks these basics:
- Clear target audience
- Real market demand
- A unique angle or niche
- Reliable product quality
- No copyright or trademark issues
Once you’ve chosen a product, it’s time to customize it. Upload your design, select colors and variants, then generate product mockups directly inside your POD app.
💡 Pro tip: You don’t need expensive software to design great products. Many successful beginners use free tools such as Canva, Kittl, and Photopea.
Don’t aim for perfection at the start. Experiment with different designs and let real customer feedback show you what works best.
🚀 To stay organized while scaling, you can use DodgePrint Smart Catalog to store all your designs, mockups, and products in one centralized library.
Even better, DodgePrint’s AI Optimization helps generate SEO titles, tags, and product descriptions automatically — saving time while improving your product visibility.
Step 5 – Set Pricing & Profit Strategy
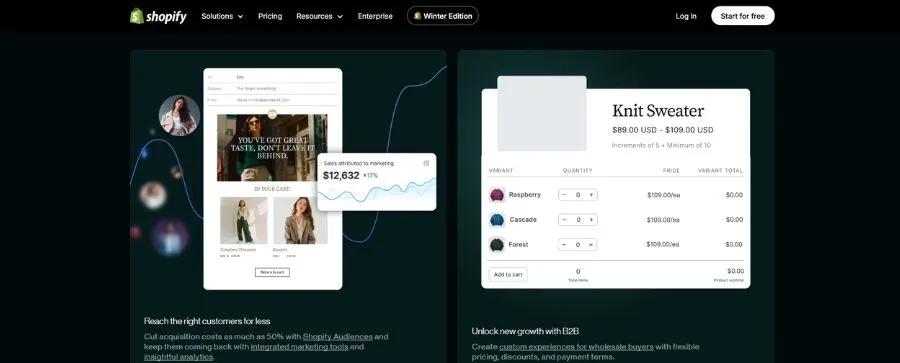
The goal is simple: stay attractive to customers while still making a healthy profit.
Competitive pricing doesn’t mean being the cheapest. Instead, focus on offering good value based on your design, branding, and product quality.
Here’s a simple way to set your price:
🔶Research similar products in your niche.
🔶Calculate your total costs, including:
- POD product base price
- Shipping fees
- Shopify fees
- Marketing expenses
🔶Add your profit margin.
For most print-on-demand stores, a 20%–40% profit margin is a good starting point.
Remember: Pricing is not permanent. Test different price points, track performance, and adjust over time until you find the balance between strong sales and consistent profit.
👏 Expert Tip: DodgePrint’s Analytics Dashboard helps you track sales performance, profits, and product trends in real time. This allows you to adjust pricing and focus on products that actually make money.
Step 6 – Set Up Payments
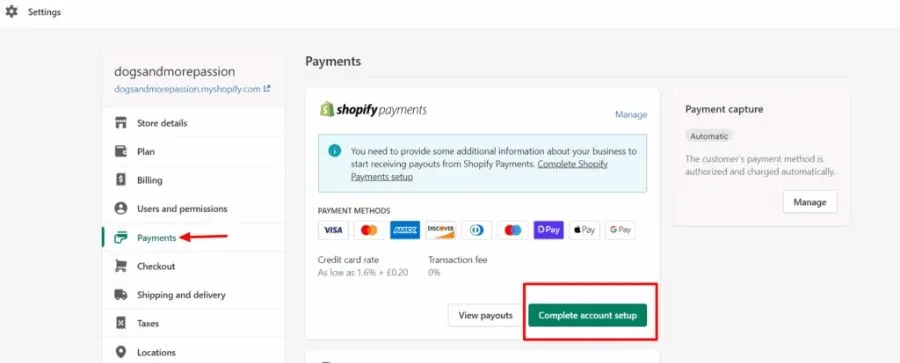
Before launching your store, you need to set up how you’ll receive payments from customers.
Shopify works with third-party payment providers to process transactions. After a customer pays, the payment is processed first, then transferred to your bank account based on the provider’s payout schedule.
💡 If you activate Shopify Payments, you avoid extra third-party transaction fees and manage payouts directly inside Shopify.
Popular Shopify payment providers include:
- Shopify Payments
- PayPal Express Checkout
- PayPal Wallet
- Shop Pay
- Shop Pay Installments
- Apple Pay
- Google Pay
- Amazon Pay
You can enable these options in Settings → Payments and choose the methods that fit your customers best.
Step 7 – Test Your Shopify Store Before Launch
Before opening your store to customers, take time to test everything carefully. Here are the key things to check:
🔶Checkout process
Place a test order yourself. Try different payment options, such as credit cards or PayPal, to ensure payments work properly.
🔶Product pages
Verify that images load correctly, descriptions are accurate, and product variants (sizes, colors, styles) function as expected.
🔶Mobile responsiveness
Most customers shop on mobile devices. Check your store on phones and tablets to ensure navigation and layout look clean.
🔶Email notifications
Make sure order confirmations, shipping emails, and automated messages are sent with accurate information.
🔶Store speed
Use tools like Google PageSpeed Insights to test loading speed. Faster stores improve customer experience and conversions.
🔶Shipping & taxes
Test orders from different locations to confirm shipping rates and taxes are calculated correctly.
Final Thoughts
With this Shopify print on demand setup guide, you now have a clear roadmap to launch your store and start selling. Take action, launch your store, and refine your strategy as you grow.